Variables, Switches, Collections and Tables are all important in 001 Game Creator, and the development of your games, when it comes to storing and manipulating information/data. Their initial state can be set in the Variables/Switches/Collections/Tables window, but more useful is that they can be manipulated with scripting events in your game.
Global Variables
Variables in general can hold any numeric/text values which can be used in your game. In the case of numbers, they can be used to store the amount of enemies the player has killed, how many steps a player has taken, etc. Or in the case of text, they can be used to store the name of a pet the player has named.
You can define variables that are accessible through any script (called Global Variables) in the Variables/Switches/Collections/Tables window. If you would like to define a variable only used in a specific script (called a Local Variable), use the “Local Variables” button in the Script Editor, as discussed below.
The “Variable Operation” event is used to assign values to your Global Variables. You can then use these variables in any event that asks you to specify a variable as a parameter (eg: “Actor Loop”, “Field Loop”, etc.). You can also reference these variables in Use Value scripting by selecting the variable from the “Global Variables” section of the Use Value dialog. The “Comparison Branch” and “Multi-Comparison Branch” events are used to compare an expression to a value(s). You can use these events to create branching paths within your scripts based on the values they’re holding.
Switches
Switches on the other hand can only hold one of two values at any one time: ON or OFF. Unless indicated through the Variables/Switches/Collections/Tables window, a Switch’s default value will be OFF at the start of the game, but can be turned ON and OFF by using the “Switch Operation” event. These can be used for simple binary situations that only need a yes/no answer to progress, such as if part of the story has been completed, a particular NPC has been interacted with or perhaps an enemy has been killed.
You may only define global Switches (which are accessible through any script). If it is more desirable to have a local Switch, Local Variables can do the job just fine of representing an ON/OFF state by using the numbers 0 and 1.
The “Switch Operation” event is used to change a Switch’s state from ON to OFF. You can also specify to “Toggle” the Switch instead, which will turn it ON if it’s currently OFF and vice versa. The “Switch Branch” event is used to check the state of a Switch. If it’s ON, it’ll take the left path and if it’s OFF it will take the right path instead. You can also reference Switches in Use Value scripting by selecting the Switch from the “Switches” section of the Use Value dialog.
Collections
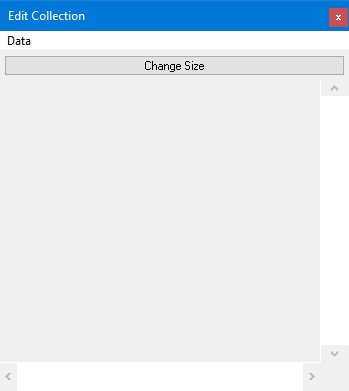
Collections are a way of holding a sequential series of text or numbers. These can be used for storing a lot of information that would otherwise require a large amount of separate Global Variables such as storing previous player game moves, diary/log entries, or lap times for a racing game. Collections and their initial set of values are defined through the Variables/Switches/Collections/Tables window.
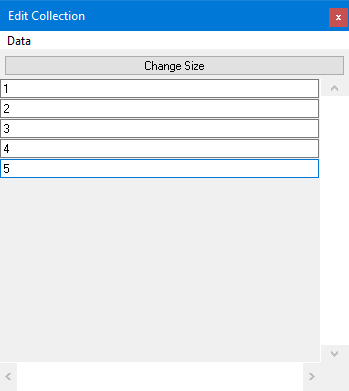
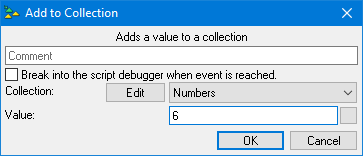
For example: Here’s a Collection with five numbers (1-5). We can add to this Collection by using an “Add to Collection” event, like so:
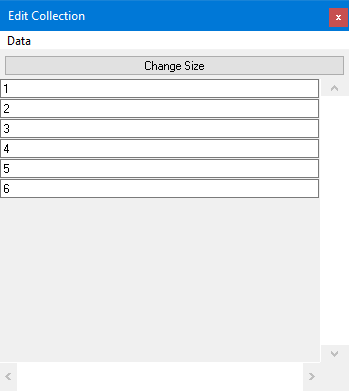
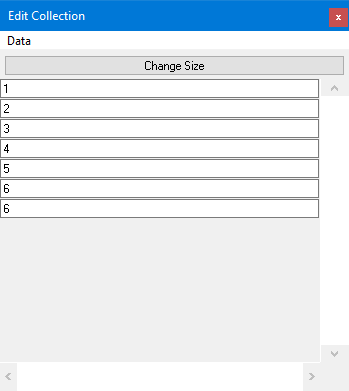
There’s now a sixth entry with a value of 6. If we add to it again (with the same value) we now have two sixes:
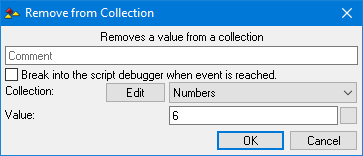
If we use a “Remove from Collection” event and set to the “Value” to 6 it will remove the most recent entry with that value:
If we do it again, it will remove the remaining 6 value but any further attempts will leave the Collection as is because there are no more 6 values left inside the Collection to remove:
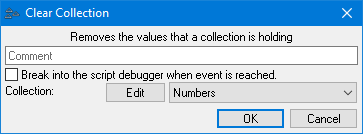
The “Clear Collection” event, on the other hand, will remove all values inside a Collection, like so:
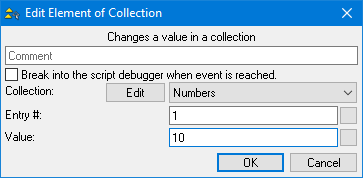
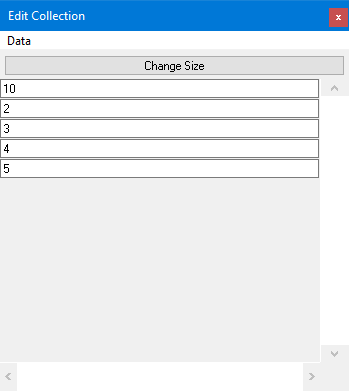
The “Edit Element of Collection” event allows us to specify a specific entry number to change only that specific value. By setting the “Entry #” to 1 and the “Value” to 10, we can change the first entry from 1 to 10, like so:
You can also reference Collections in Use Value scripting by selecting the “nth Element in Collection” Use Value in the Use Value dialog.
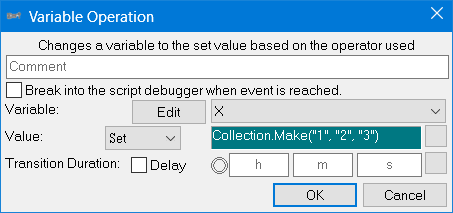
It is even possible to store Collections within Variables. This includes Global, Actor, Map, Interface and even Local Variables in scripts. You would simply need to plug in your Collection’s name as a value in a Variable Operation event (if done from the Use Value menu then “Select All” needs to be ticked in order for the project’s Collections to appear). After that you may perform any action on that Variable as if it were a Collection. It should also be noted that you are not limited to user-defined Collections but can do the same with other pre-existing ones.
For example: a Collection of Lights in a Map, the Collection of your project’s Audio files or you can even make your own on the spot using the Make Collection Use Value to add specific elements to it.
For a more detailed breakdown on Collections and their events, please see the Steam Guide: A short introduction to Collections
Tables
Tables are very much like Collections, except that they can store a 2- or 3-dimensional grid of text or numbers. Each cell containing information is defined by 3 co-ordinates X, Y and Z (similar to how Maps and Interfaces work). In fact, their usefulness often comes from mapping out the layout in relation to a Map, where each cell in the Table could represent a particular tile in the Map. Though they can be merely used to store various metadata about an object or player, by using columns and cells appropriately.
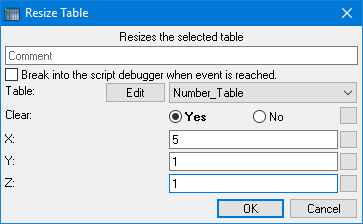
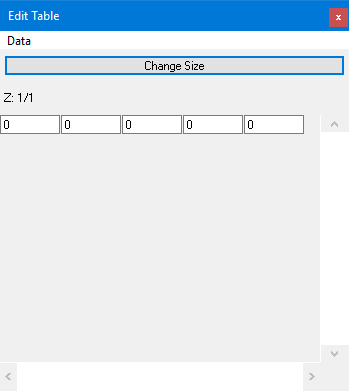
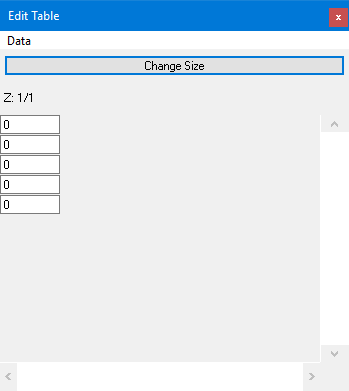
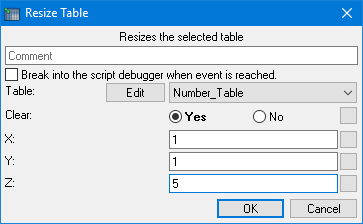
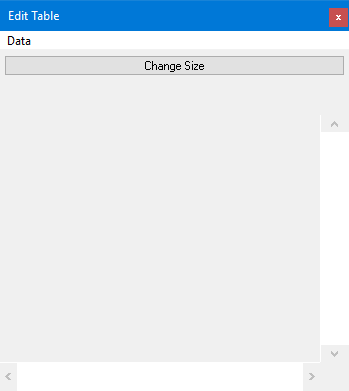
For example: Here’s an empty Table. We can use the “Resize Table” event to increase/decrease the amount of cells a Table has in it. The “X” value refers to the amount of columns a Table has:
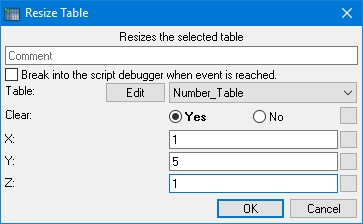
The “Y” value refers to the amount of rows a Table has:
And the “Z” value refers to the amount of layers a Table has:
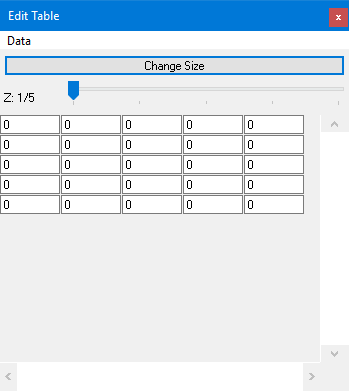
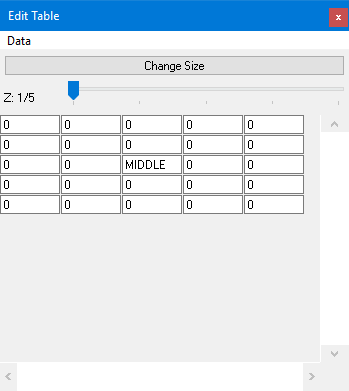
Here’s what the Table looks like when the X, Y and Z values are all set to 5:
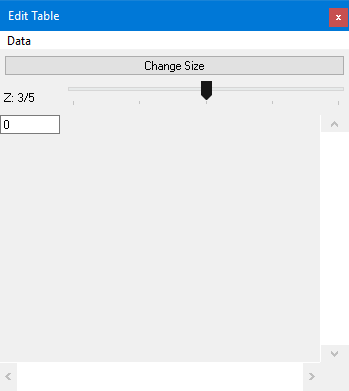
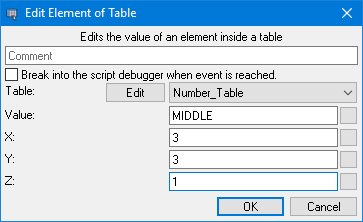
We can edit a specific value inside the Table with the “Edit Element of Table” event. To edit the middle cell of this Table, we set the X and Y values to 3 and the Z value to 1, like so:
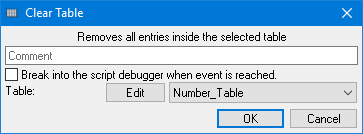
The “Clear Table” event is used to remove all data within a Table without deleting any of the cells themselves, like so:
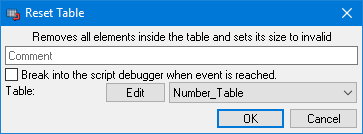
Whereas the “Reset Table” event will remove all of the data within a Table as well as all of the cells, like so:
You can also reference Tables in Use Value scripting by selecting the “Element in Table” Use Value in the Use Value dialog.
For a more detailed breakdown on Tables and their events, please see the Steam Guide: A short introduction to Tables
Local Variables
These Variables are created within a script and can only be used within that script. Local Variables will not be accessible outside of the script they were created in. Their main use is to store data temporarily in one script, such as holding a generated random number for use in other events, or counting how many times the player has made the same dialogue choice.
Local Variables can be made persistent by ticking the box next to their name. Persistent Local Variables remember any data stored in them after a script has ended, meaning their information can be reused later if the script is executed a second time, much like Global Variables.
The “Variable Operation” event is used to assign values to your Local Variables. You can then use these variables in any event that asks you to specify a variable as a parameter (eg: “Actor Loop”, “Field Loop”, etc.). You can also reference these variables in Use Value scripting by selecting the variable from the “Local Variables” section of the Use Value dialog.
Map/Interface Variables
These are created in Map/Interface property windows and can be used on the Map or Interface in which they were created but these can also be called throughout the entire game through the “Map Variable” and “Interface Variable” Use Values.
The “Map Variable Operation” and “Interface Variable Operation” events are used to assign values to your Map/Interface Variables. You can also reference these variables in Use Value scripting by selecting the “Map Variable” and “Interface Variable” Use Values in the Use Value dialog. You can add or remove Map/Interface Variables via scripting by using the “Add/Remove Actor Variable” event, and you can get a collection of all Map/Interface Variables by using the Use Values “Map Variables Collection” and “Interface Variables Collection”.
Actor Variables
These are created in the Actor property window and can be used on the Map in which they were created but these can also be called throughout the entire game through the “Actor Variable” Use Values, with the exception of Actor Variables that have been created within an Actor Template. These can only be accessed through the Actor Template in which they were created.
The “Actor Variable Operation” event is used to assign values to your Actor Variables. You can also reference these variables in Use Value scripting by selecting the “Actor Variable” Use Value in the Use Value dialog. You can add or remove Actor Variables via scripting by using the “Add/Remove Actor Variable” event, and you can get a collection of an Actor’s variables by using the Use Value “Actor Variables Collection”.
Data Types
Identifiers in 001 Game Creator are dynamic, meaning they can change type in accordance with the type of data that they receive.
For example, setting a Variable’s value to 100 will allow that Variable to behave as a number, meaning it will be usable in a mathematical operation as is. However, the moment you enter a character that is not a number (or a decimal point/period), be it a letter, a symbol or any other special character, it will automatically convert to a string type Variable. This means that the Variable is now holding a piece of plain text instead of a real number.
That text can now be used to reference an Actor’s name, the ID of a Sound/Music file, the name of an Item, to name a few; or as special formatting for color coding text in a Message Box or a Constant Box.
Color Coding for Constant Boxes
001 uses an integer number to understand color. By making use of the &HAARRGGBB notation, it is possible to convert that string to an integer number that 001 will interpret as a color when used in scripting. &OAARRGGBB which is an octal variant of the above string is also acceptable.
For example, say you want certain Fields in an Interface to have a specific color that you can change easily whilst developing your game (e.g. Yellow). You can store that color in a Global Variable, or any other Identifier, by typing in the value box using either of the above notations (in this case, Yellow would be &HFFFFFF00 for the hexadecimal notation). Then to apply that color, you would simply type the Variable’s name in each of the Fields’ Retrieve Color 1/2 boxes.
NOTE: In addition to Identifiers this can also work for Item/Magic Constants.

